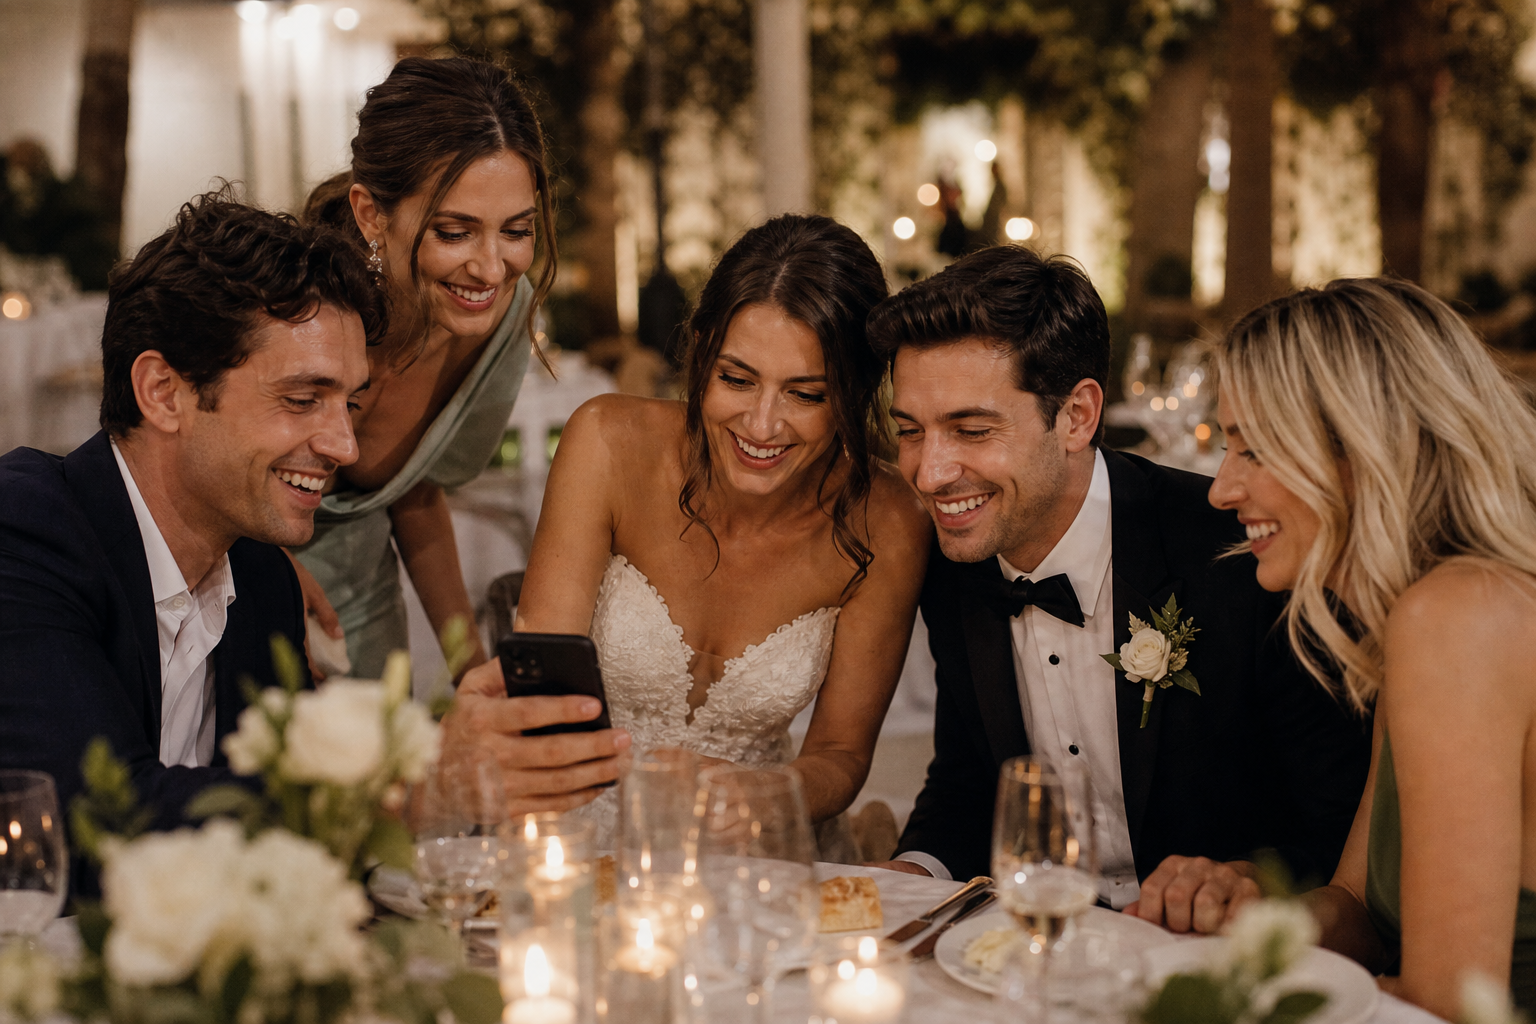
The easiest way to create a private wedding photo sharing gallery for guests is to choose one gallery link, make it available through a QR code, and give guests a clear reason to upload their pictures. Keep the process to one step: guests scan or tap, select photos or videos from their phone, and upload. The less they need to download, join, or remember, the more candid moments you are likely to receive.
A private gallery gives you one home for the photos your guests take while preserving more control than asking everyone to post publicly or send files through scattered text threads. It is useful whether you want a few reception snapshots, a full collection from your wedding weekend, or a place to gather clips your professional photo and video team may not have seen.
What a private wedding photo sharing gallery should do
Before creating anything, decide what “private” means for your wedding. For most couples, it means the gallery is intended for invited guests rather than being posted openly on social media. It also means the couple, not a group chat or public feed, has one central place to review and download the collection.
A practical private wedding photo gallery should make these jobs simple:
- Give guests a straightforward way to upload from their own phones.
- Collect both still photos and short videos in the same place.
- Keep your guest collection separate from public social posting.
- Let you share one destination instead of managing files in messages, email, and multiple albums.
- Give the gallery owner controls over the collection.
- Allow you to download the photos and videos you collect when you are ready.
The technology matters, but the guest experience matters more. A gallery that requires several explanations can turn into a task guests postpone until they forget. A link or QR code that opens directly to the upload experience is much easier to act on while the celebration is still fresh.
Set up your gallery before you make any signs
Start with the gallery itself, then build your printed materials around the link or QR code it provides. This avoids a common last-minute mistake: ordering signage before you have tested where it sends guests.
- Create one main wedding gallery. Use a name that guests will instantly recognize, such as “Maya & Jordan’s Wedding Photos.” If you are using Snap the Knot, you can start a free gallery to see the guest experience before committing.
- Decide who will own the setup. One person should be responsible for the gallery, its access details, and downloading files afterward. This can be a couple, planner, trusted family member, or photographer.
- Test it on more than one phone. Open the link on a phone that is not signed in to your account. Scan the QR code from a printed test, then upload a sample photo. Check that the path is clear from scan to upload.
- Save a backup version of the link. Include a short written web address or link on digital communications in addition to the QR code. A QR code is convenient, but a typed link helps guests viewing a screen remotely or those who prefer not to scan.
- Plan how you will retrieve the files. Do not wait until months after the wedding to identify the gallery owner or download plan. With Snap the Knot, couples can download their collected photos and videos from their private gallery.
For a closer look at the mechanics of a scannable upload experience, see how a wedding photo QR code works.
Choose a guest-friendly upload method
There are two effective ways to invite guests to a private wedding photo sharing gallery: a direct link and a QR code. Use both when possible. The link works well before and after the event; the QR code is especially helpful when guests are already holding their phones at the venue.
| Method | Best time to use it | Where it works well |
|---|---|---|
| Gallery link | Before and after the wedding | Wedding website, email, digital thank-you note, group message |
| QR code | During the wedding | Welcome sign, bar, reception tables, photo area, exit display |
| Both together | Throughout the wedding journey | Any place guests may see your request on paper or a screen |
If your priority is participation, avoid making account creation or app downloads part of the request. Snap the Knot lets guests scan a QR code or open a link and upload without downloading an app or creating an account. That is especially considerate for guests who are traveling, short on phone storage, or simply do not want to join another service for one event.
Make privacy expectations clear without making the sign complicated
Guests are more comfortable sharing candid photos when they know where those images are going. You do not need a long policy on a reception sign. A short, warm explanation is enough: the gallery is for the couple, and guests are welcome to add their favorite moments.
Your wording should answer three questions:
- What should I do? Scan or visit the link to upload photos and videos.
- Why should I do it? Help the couple collect the moments they may have missed.
- Where do the files go? To the couple’s private wedding gallery.
For example: “Caught a favorite moment? Add your photos and videos to our private wedding gallery.” Keep the instructions beside the QR code, not hidden in a separate paragraph. If you need more message ideas for invitations, your website, and signs, use this guide to wedding photo sharing wording.
Build a simple sharing plan for the whole wedding
One sign at the far end of a reception room may not be enough. Guests arrive at different times, move between spaces, and may not think to upload until they are waiting for dinner or traveling home. A few well-timed reminders work better than repeatedly asking everyone throughout the night.
Before the wedding
- Add the gallery link to your wedding website or a pre-wedding email.
- Let the wedding party know early so they can start using it confidently.
- Ask your planner, venue coordinator, or a trusted friend where a small sign will be visible without cluttering important decor.
During the celebration
- Place a QR code near the guest book, welcome display, bar, or photo area.
- Ask the DJ, emcee, or a member of the wedding party for one brief mention at a natural pause.
- Consider a Live Image Wall if you want uploaded moments to become part of the reception atmosphere. Snap the Knot offers a Live Image Wall alongside QR uploads and shared galleries.
After the wedding
- Send the link again in a thank-you message within a few days.
- Give guests a gentle reason to check their camera rolls: car selfies, dance-floor videos, getting-ready snapshots, and goodbye hugs are easy to overlook.
- Keep the request specific and appreciative rather than urgent.
There is no need to make the gallery a major production. The goal is simply to give guests more than one convenient chance to contribute.
Decide whether one gallery or separate event galleries makes more sense
A single private wedding photo gallery is ideal for many couples. It keeps the main day easy to explain: one code, one link, one collection. But if you are hosting several events, separate galleries can prevent a wedding-weekend collection from becoming confusing.
Consider separate event galleries if you want to distinguish:
- Bridal shower photos from the wedding-day collection.
- Bachelor or bachelorette party photos from family-facing wedding photos.
- Rehearsal dinner photos from reception moments.
- Events with different guest lists or different sharing expectations.
With Snap the Knot, optional separate event galleries can cover those related celebrations. This can make it easier to revisit each event later without asking guests to sort their own uploads perfectly. Learn more about the available gallery and sharing options on the features page.
Protect the experience by assigning a gallery helper
You should not spend your wedding day troubleshooting a sign, explaining a link, or remembering whether Aunt Rosa uploaded the rehearsal dinner videos. Designate one gallery helper who can handle small questions. This does not need to be a formal role; it can be a tech-comfortable sibling, friend, planner, or member of the wedding party.
Give that person three things in advance:
- The gallery link and QR code.
- A one-sentence explanation of how guests upload.
- Permission to point guests toward the sign or share the link when asked.
If you are a planner or photographer setting this up for clients, confirm who will own the gallery after the event and how the couple will receive the download. Photographers can explore a workflow designed for guest galleries at Snap the Knot for wedding photographers.
Common mistakes to avoid
- Using only a QR code. Add a link for guests who are viewing digital materials or having trouble scanning.
- Testing only from your own phone. Your phone may already have access or context that a guest does not. Test like a guest.
- Putting the sign where no one pauses. A code near a welcome table, bar, or guest book has a better chance of being noticed than one near an exit only.
- Making the message too broad. Ask for photos and videos specifically, and tell guests they are contributing to your private collection.
- Forgetting the post-wedding reminder. The best candid shots often stay on guests’ phones until you send one friendly follow-up.
- Leaving ownership unclear. Know who will manage the gallery and download the final collection.
A private gallery is about making the memories easy to share
Your guests already have the photos: the reaction during the first look, the cousins laughing at cocktail hour, the dance-floor clip from a friend’s perspective. A private wedding photo sharing gallery gives those moments a simple route back to you without turning your celebration into a tech project.
If you are ready to try the workflow, create a free Snap the Knot gallery, test the QR code and link with a friend, and choose the one or two places where guests will naturally see it. When you are comfortable with the setup, you can review one-time plan options and build the gallery into your wedding-day details.