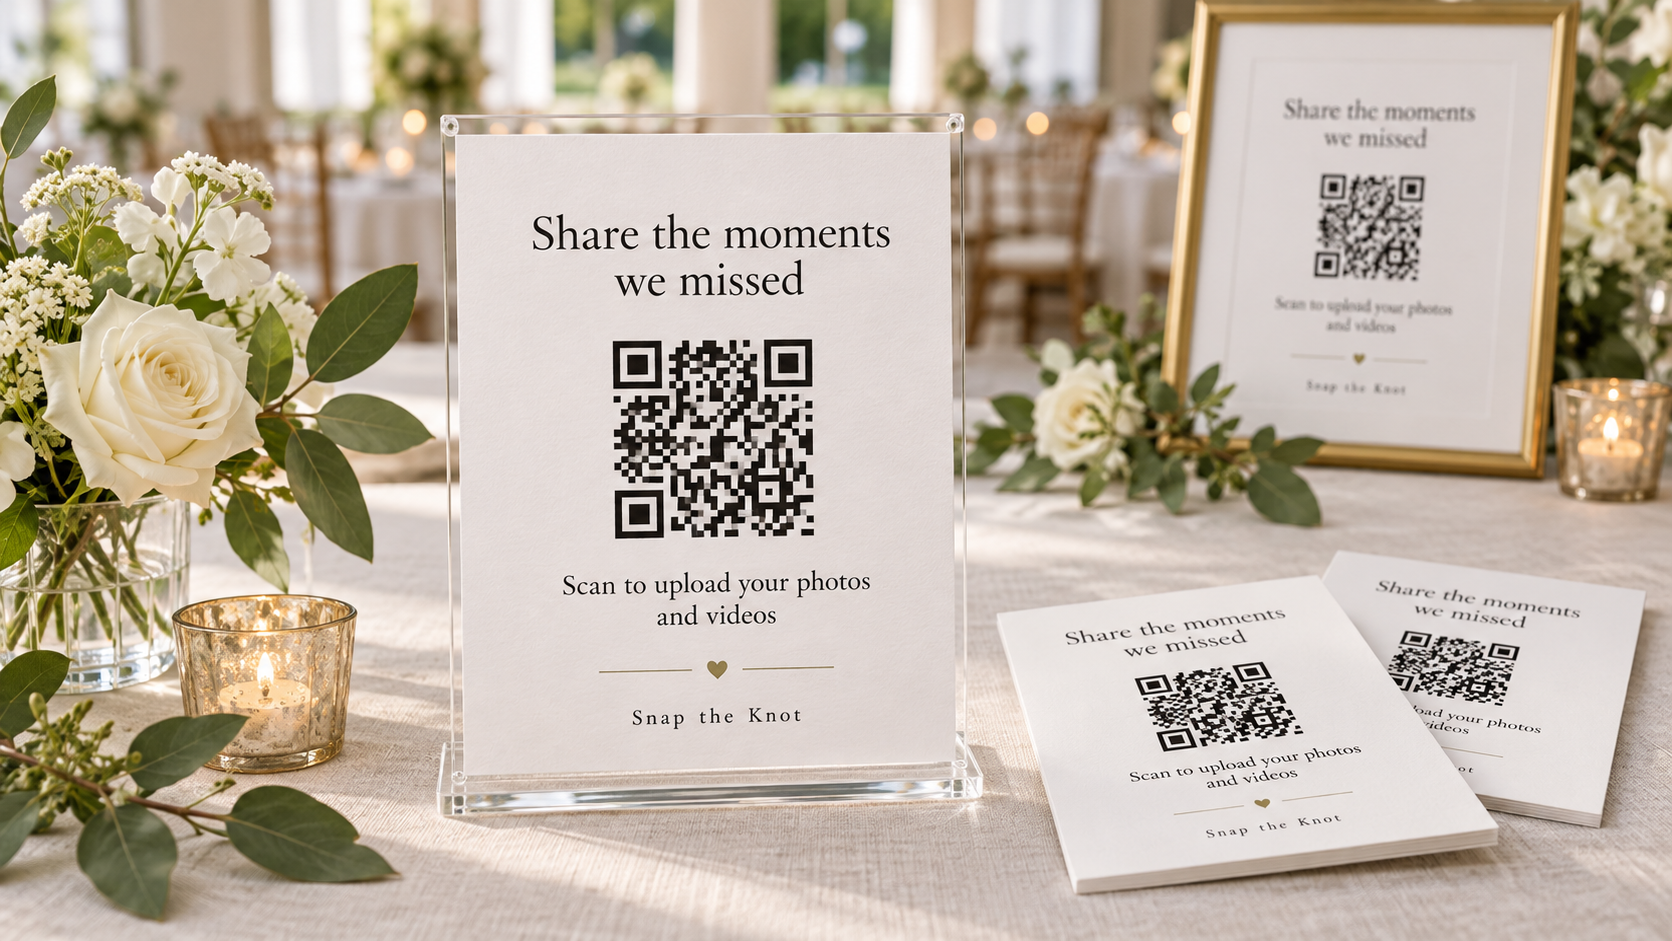
The simplest way to print wedding QR code signs is to start with a gallery that is ready to receive uploads, generate your QR design from a template, then print a few clear signs on quality cardstock and place them where guests naturally pause. You do not need a complicated stationery project. A clean template, a scannable code, a short instruction, and the right display supplies are enough to help guests share their photos and videos.
This guide walks through the practical part: what to buy, how to use a wedding QR code sign template, which sizes work best, and how to prepare your prints so they look intentional at the reception. If you are using Snap the Knot, guests can scan the code or open the link to upload without downloading an app or creating an account. Their contributions go to your private gallery, where you can download the photos and videos you collect.
What you need to print wedding QR code signs
For most weddings, a small set of well-placed prints is more useful than dozens of tiny cards. Gather these supplies before you open the template generator:
- A ready-to-use wedding gallery: Set up your gallery first so the QR code connects to the right upload destination. You can start with a free gallery before choosing a plan.
- Your QR code sign template: Use the template generator associated with your gallery to create a design that includes your code and guest-facing instructions.
- Cardstock: Choose smooth, bright white cardstock around 65–100 lb if your printer supports it. Heavier paper helps signs stand neatly in frames. This cardstock option is a convenient supply to consider.
- Frames or sign holders: Frames protect the print, help it stand upright, and make a simple template look more finished. These clear frames can work well for reception tables and bars.
- A printer or local print shop: A home inkjet or laser printer is fine for a small number of signs. For larger formats or a more polished finish, send a PDF to a local print shop.
- A phone for testing: Test every printed QR code with more than one phone before the wedding day.
Disclosure: The cardstock and frame links above are affiliate links, which means Snap the Knot may earn a commission if you make a purchase through them, at no additional cost to you.
Set up the upload destination before making the print
A beautiful sign cannot fix a QR code that leads somewhere confusing. Create and check the gallery before you spend time printing. In Snap the Knot, your guests will use the QR code or shared link to reach the upload experience directly. No app download or guest account required.
- Create your wedding gallery and confirm the event details.
- Review your owner controls and decide who will have access to manage the gallery.
- Open the template generator and choose a layout appropriate for your sign size.
- Make sure the template is connected to the gallery you want guests to use.
- Save or download the finished print file using the generator’s current options.
- Scan the final code from the screen once, then again after printing.
If you are collecting memories across more than one celebration, consider separate galleries for a bridal shower, bachelor or bachelorette party, rehearsal dinner, or wedding day. That keeps each event easier to revisit later while still giving guests a simple place to upload.
How to use a wedding QR code sign template effectively
The template generator should save you from building a sign from scratch. Its job is to put the QR code and essential information into a layout that is easy to print. Your job is to keep the finished piece easy to understand from a few feet away.
Keep the message short
Guests should understand the sign in seconds. A strong wedding photo upload sign usually needs only a headline, a one-line instruction, and the code. For example:
Share the moments we missed Scan to upload your photos and videos to our wedding gallery.
That wording tells guests what to do and what they can contribute. Avoid long paragraphs, tiny decorative captions, or a long URL competing with the code. If the template includes a link, it can be helpful as a backup for guests whose phone cameras do not scan QR codes easily, but the QR code should remain the visual priority.
Protect the quiet space around the code
Do not add graphics, text, borders, or photo elements too close to the QR code. The blank margin around it helps phone cameras recognize the pattern. If you resize the template, resize the full design proportionally rather than stretching or cropping the QR code itself.
Choose contrast over ornate styling
A QR code needs a clear contrast against its background. Dark code on a light, solid background is the safest option. A delicate wedding palette can still work around the code: use your florals, color, or monogram in the outer areas of the template while leaving the code crisp and uncluttered.
Pick the right print size for each location
You do not need every QR print to be the same size. Match the sign to the distance from which someone will scan it. A large welcome-table print catches attention; smaller framed copies make uploading convenient later in the evening.
| Location | Suggested print size | Best use |
| Welcome table or card table | 8x10 inches or 11x14 inches | Introduces the guest photo upload QR code as people arrive. |
| Guest book or favors table | 5x7 inches or 8x10 inches | Gives guests a calm moment to scan and upload. |
| Bar, lounge, or photo booth area | 5x7 inches | Encourages candid, in-the-moment uploads. |
| Dinner tables | 4x6 inches or 5x7 inches | Useful only if table styling has room and the sign will stay visible. |
For most couples, three to five signs is a practical starting point: one larger welcome sign and several 5x7 framed copies in high-traffic areas. If you are using a Live Image Wall, include a nearby sign so guests know how to get their images into the gallery and onto the display. You can explore the available gallery tools on the Snap the Knot features page.
Print settings that help QR codes scan
A printable wedding QR code sign does not need specialty printing, but it does need clean edges and readable contrast. Before printing your full batch, make one test copy.
- Print at 100% or “actual size.” Do not use settings that automatically crop or shrink the page without checking the preview.
- Select the highest practical print quality, especially if your code is small.
- Use plain white cardstock rather than textured, metallic, glossy, or heavily colored stock behind the QR code.
- Do not laminate directly over a code if glare is likely. A frame is often the easier protective option.
- Let ink dry fully before inserting signs into frames or stacking them.
- Keep a digital copy of the final template on your phone or in your planning folder in case you need a last-minute reprint.
Before declaring the signs done, test one from the approximate distance a guest will stand. Test it in normal indoor lighting, not just under bright desk lighting. Ask a friend to scan without being told where to tap; if they hesitate, make the code larger or simplify the surrounding design.
Frame and place your signs where guests will use them
Frames are not just decorative. They prevent curled corners, keep the paper from getting splashed at the bar, and let the sign stand where it can be seen. The clear frames linked here are especially useful when you want the template design to blend into different tablescapes.
Place signs at moments when guests have a free hand and a reason to pull out their phones: near the guest book, beside a photo booth, by the bar, at a lounge seating area, and on the welcome table. Avoid hiding the only sign by the gift table or placing it behind tall florals. Also avoid putting a QR code at every place setting if it will make the table feel crowded.
For the best results, let your DJ, planner, or a member of the wedding party give one brief reminder during the reception. The signs make uploading possible; a friendly verbal cue reminds guests that you genuinely want the photos and videos they took.
A quick pre-wedding QR sign check
- Gallery is live and connected to the correct QR code.
- Code scans on at least two different phones.
- Guest instruction says photos and videos can be uploaded.
- Code has a light, uncluttered background and visible margin.
- Prints are on cardstock and framed or secured for their location.
- At least one sign is large enough to notice on arrival.
- Your planner or venue contact knows where each sign belongs.
- A spare print and the digital file are packed with wedding-day items.
A thoughtful template and a few sturdy prints can turn the guest photos already being taken into a collection you can actually enjoy after the wedding. When you are ready, create a gallery, test your design, and use the template generator to make QR code signs that fit naturally into your celebration. You can review Snap the Knot plans or begin with a free gallery to see how the setup feels.