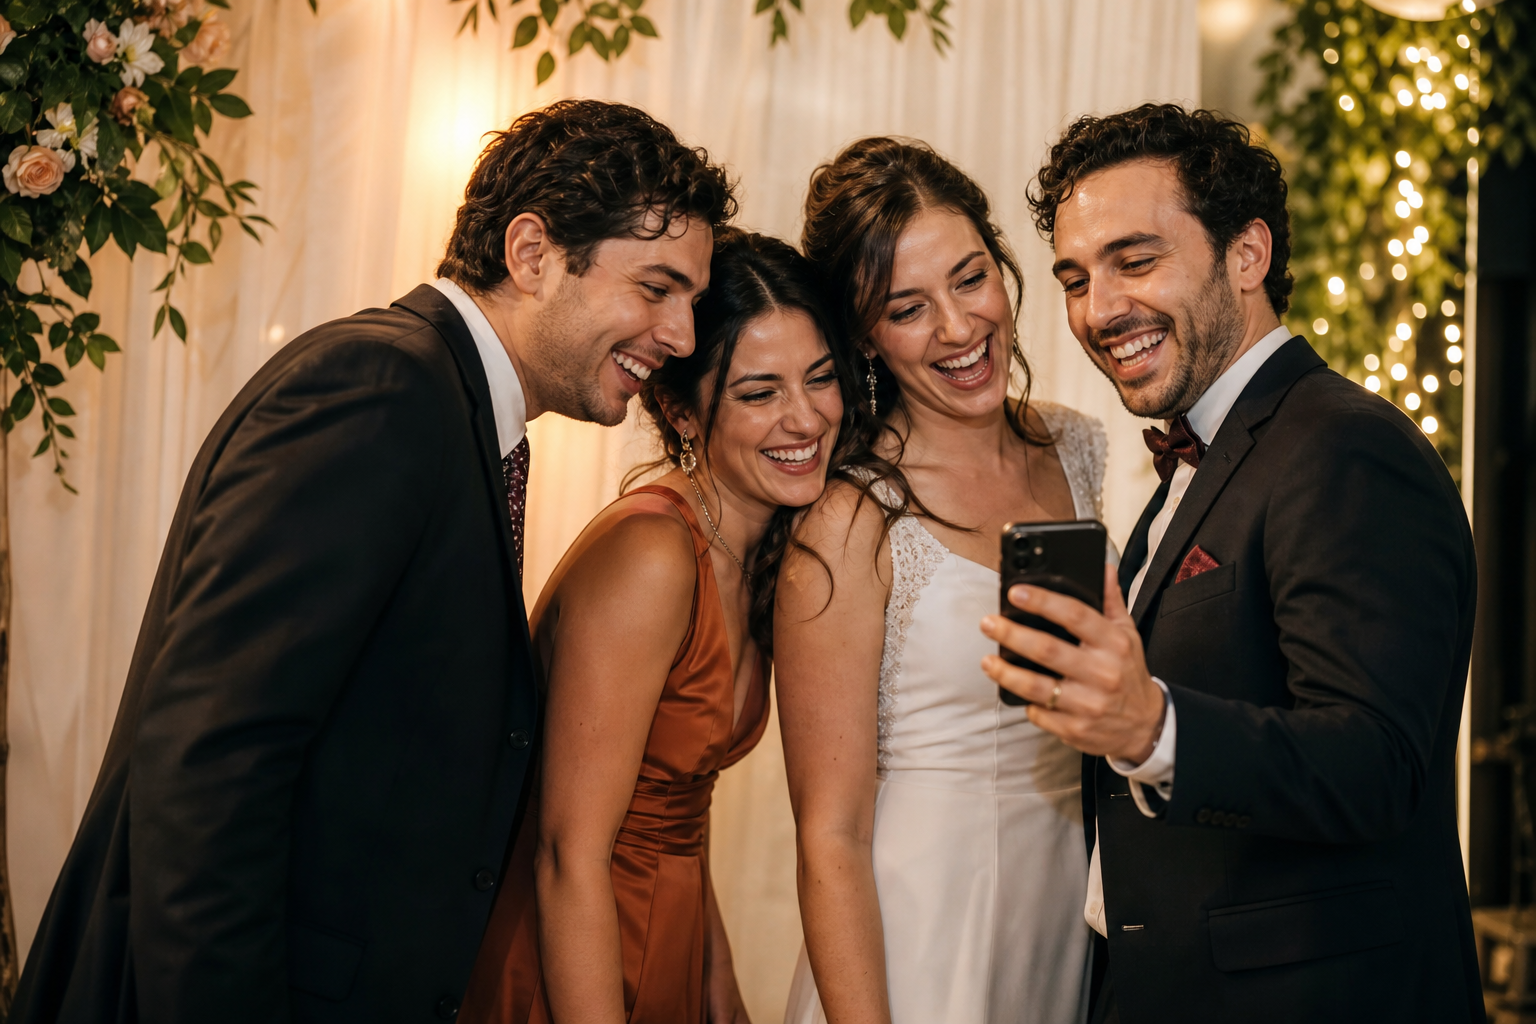
A DIY wedding photo booth with a QR code is one of the simplest ways to collect candid guest photos without renting a traditional booth. Set up an inviting corner, give guests a few easy prompts, and place a QR code that opens a shared upload gallery. Guests scan it with their phones, take or select their photos and videos, and upload them. No app download or account required.
The key is to think of this as a guest photo station, not just a sign on a table. Give people a reason to pause, pose, and contribute. With a good location, clear directions, a little light, and a few personality-filled props, you can create a relaxed activity that adds to the reception rather than another task for guests.
What a QR code wedding photo booth does best
A phone-based photo booth will not replace a professional photographer, a staffed booth, or formal portraits. It does something different: it captures the spontaneous, low-pressure moments happening between the scheduled parts of the day.
Think of the friend group gathering at the cocktail hour, cousins making silly faces late in the evening, a grandparent dancing, or the post-dinner table selfies you might otherwise never see. A shared guest gallery gives those photos a single destination instead of leaving them scattered across individual camera rolls and group chats.
This approach is particularly useful when you want:
- More candid photos from guests’ perspectives.
- A lower-lift alternative to a rented photo booth.
- A simple activity for cocktail hour or the reception.
- Both photos and short videos from the people celebrating with you.
- A way to include guests who are not in every professional photo.
Snap the Knot lets you create a private gallery for guest uploads, with QR access and owner controls. You can also use the gallery with a Live Image Wall if you want uploaded images to become part of the reception atmosphere.
Choose the right version of a DIY wedding photo booth
Start by deciding how much space, equipment, and coordination you actually want. A photo station can be beautifully simple. More components do not automatically make it more fun.
| Setup style | What you need | Best for |
|---|---|---|
| Tabletop upload station | QR sign, small frame, simple props | Small spaces and low-effort participation |
| Backdrop corner | QR sign, backdrop, flattering light, props | Guests who enjoy posing together |
| Roaming QR moment | QR cards or signs near key gathering areas | Venues with limited extra space |
| Live photo display | Upload station plus a display plan | High-energy receptions and interactive guest viewing |
For most couples, a backdrop corner or tabletop station is enough. If the venue is already visually interesting—a mural, garden wall, lounge, fireplace, or string-light area—use that rather than bringing in a large backdrop. The goal is to make participation feel natural, not to create another production job for your wedding party.
How to set up your wedding QR code photo booth
- Create your upload gallery first. Before designing any signs, make sure the QR code opens the correct gallery. Test it on more than one phone and ask someone else to try it without guidance. A free test gallery can help you understand the guest experience before you commit.
- Pick one clear call to action. Avoid asking guests to scan, download, tag, email, and post. Ask for one thing: “Scan, snap, and upload your favorite moments.” The shorter the instruction, the more likely people are to do it.
- Choose a location with natural traffic. Put the station near the bar, cocktail hour, lounge area, dessert table, or reception entrance—not in a hidden corner. Do not place it where a line would block servers or the dance floor.
- Make the QR code easy to scan. Print it clearly, keep it unobstructed, and position it at a comfortable standing height. A framed tabletop sign is useful, but an additional sign near the backdrop gives guests a reminder at the exact moment they are taking photos.
- Add a simple visual cue. A backdrop, a chair, a few props, or a small sign helps guests understand that this is a photo moment. You do not need all four.
- Give guests a nudge at the right time. Have your DJ, emcee, planner, or a member of the wedding party mention the station shortly after dinner or when dancing begins. One announcement is usually more effective than repeatedly interrupting the party.
Make the instructions impossible to misunderstand
Even a beautiful wedding QR code photo booth will be underused if guests are unsure what happens after they scan. Use plain language and show the benefit. Let them know their photos are wanted, not merely permitted.
Try this wording on your sign:
Help us capture the moments we miss Scan the code, take a photo or video, and upload it to our wedding gallery. No app or account needed.
For a more playful version:
We want your camera roll highlights Pose with your people, catch a dance-floor moment, or share a sweet video message. Scan to upload.
Use language that fits your wedding, but keep the functional part consistent: scan, choose or take a photo, upload. If you need help creating signage that scans reliably, review this guide to wedding photo QR codes.
Photo booth prompts that produce better guest photos
Many guests will take their own selfies without a prompt. A few optional ideas can encourage more variety, especially early in the reception when people may be hesitant to be first.
- Take a photo with someone you have known the longest.
- Capture your best dressed-table photo.
- Share a photo of the happiest person on the dance floor.
- Re-create a favorite photo with the couple.
- Leave a five-second video message for the newlyweds.
- Photograph one detail you love from the day.
- Gather your college, family, work, or hometown crew for a picture.
Keep prompts optional and limit them to a small tabletop card or chalkboard. Too many rules can make a DIY wedding photo station feel like homework. The best prompts invite connection rather than demanding perfect content.
Lighting, props, and power: the practical details
Good lighting matters more than elaborate décor. If you are indoors, place the photo area near a window for daytime events or near warm ambient lighting in the evening. Avoid a backdrop directly under harsh downlights, which can create deep shadows. If you add a light, test it in the actual space or at least in a similarly lit room.
Choose props sparingly. A few oversized sunglasses, a feather boa, hand fans, or signs that match your wedding’s sense of humor can work well. Skip props that shed glitter, break easily, or create clutter. For an elegant wedding, you may not need props at all; a good backdrop and a warm invitation to take photos can be enough.
If you plan to use a phone stand, ring light, tablet, or display near the station, ask your venue where outlets are available and secure any cords so they do not create a trip hazard. If your setup relies only on guests’ phones and printed signage, it remains simple and portable.
When to encourage guests to participate
Timing determines whether a guest photo booth feels lively or overlooked. The best windows are when guests are together but not occupied with a major moment.
- Cocktail hour: Great for group portraits, especially when the backdrop is near drinks or appetizers.
- After dinner: A useful moment for an emcee reminder before guests turn fully toward dancing.
- During open dancing: Best for candid, energetic photos and quick video messages.
- Near the end of the night: A final reminder can catch farewell hugs and last dance-floor memories.
Ask your planner or DJ to include the reminder in the reception timeline. If you are working with a photographer, let them know where the guest station will be so it complements their work rather than competing for people during formal photo time. Wedding photographers who want a streamlined guest-upload option can explore photo sharing for photographers.
Common mistakes to avoid
Making the QR sign too small
Guests should be able to scan without bending awkwardly or searching for the code. Use a sign large enough for its viewing distance, and place a second code at the photo area if your main sign is elsewhere.
Putting the station somewhere guests never linger
A beautiful setup behind the head table or next to a service entrance is unlikely to get much use. Choose a place where people naturally gather.
Assuming guests will know to upload later
Some will, but many will forget once they leave. Invite uploads while the excitement is happening, then send a gentle post-wedding reminder to anyone who may still have photos.
Trying to collect photos through too many channels
If guests are told to text photos, use a hashtag, share to a group album, and scan a QR code, the result is fragmented. Give the gallery one clear role as the place for contributions.
Overbuilding the station
You do not need a custom set, elaborate props, or a complicated technical setup to get joyful images. Put your effort into easy access, a clear message, and a welcoming spot.
What to do with the uploads after the wedding
Once the celebration is over, download the photos and videos you collected and enjoy the candid perspective alongside your professional images. You may find small moments that did not make the official timeline: friends setting up a surprise, grandparents laughing at dinner, or the little group reunions happening at each table.
If you are hosting other celebrations, separate galleries can keep each event organized. For example, you might use one for the shower or rehearsal dinner and another for the wedding itself. Read more about shared gallery features, or see current one-time plan options on the pricing page.
A DIY wedding photo booth with a QR code works best when it is easy, visible, and genuinely inviting. Create your gallery, test the scan flow, place it where people are already having fun, and give guests permission to capture the imperfect, personal moments. You can start a free test gallery and see how it feels before your wedding day.