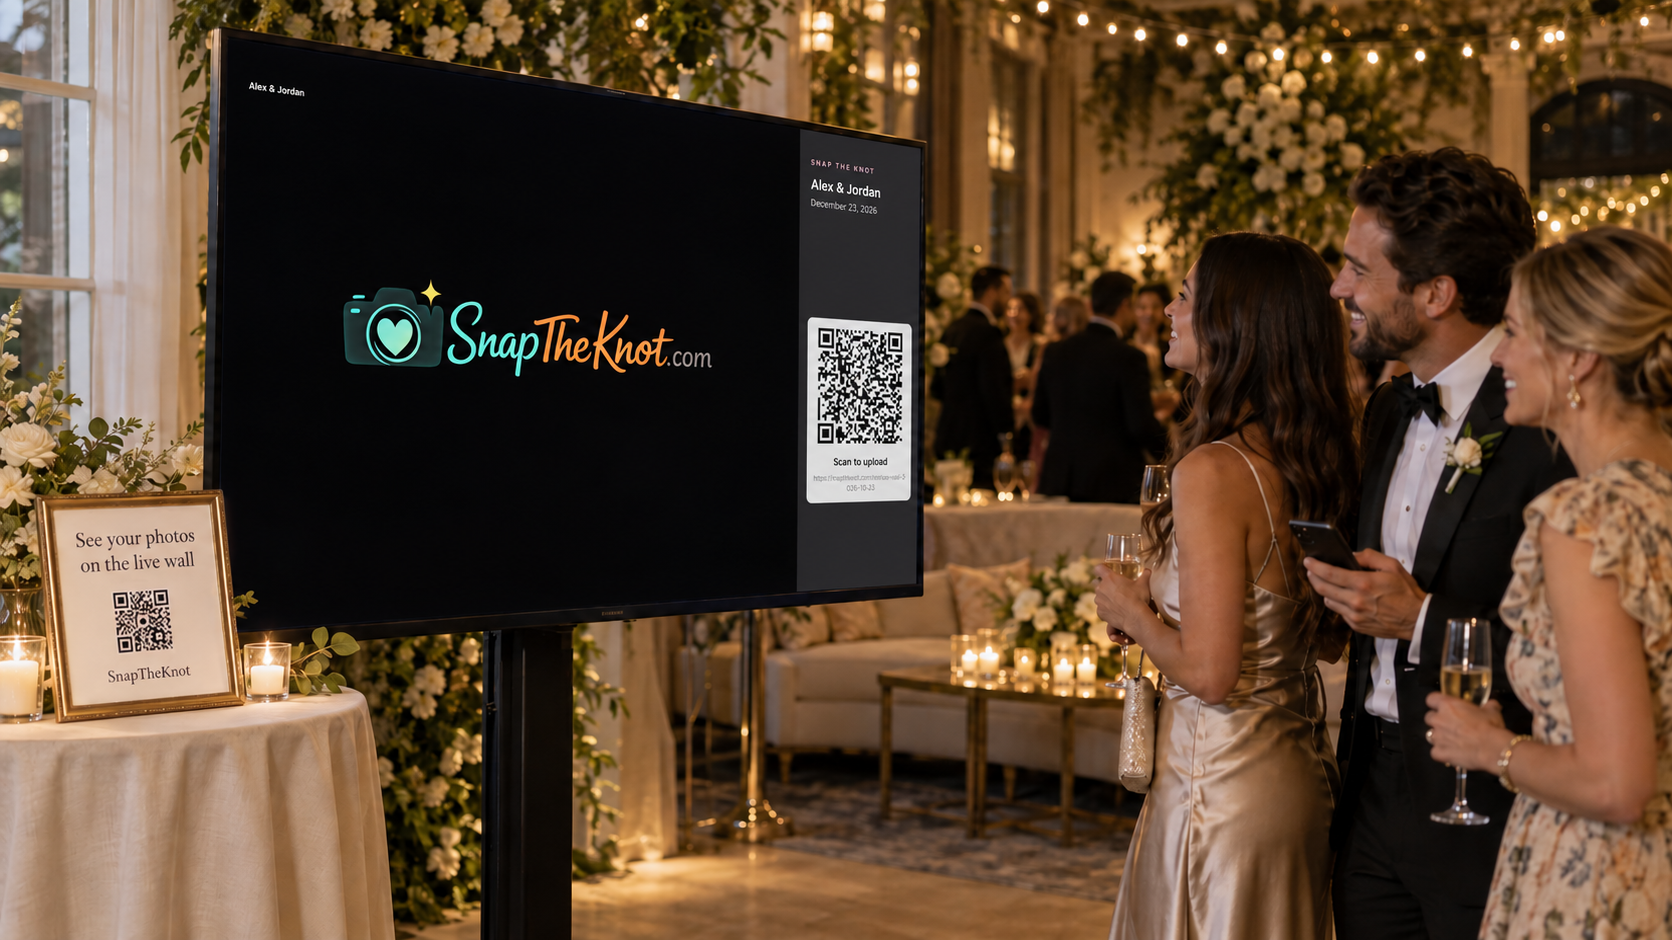
A live wedding QR photo wall for your reception is a screen that displays the candid photos guests upload during the celebration. It gives everyone something fun to watch between formal moments, helps guests see the day from one another’s perspective, and starts collecting the photos you might otherwise never receive.
The simplest approach is to place a screen where guests can naturally see it, share one clear upload instruction with a QR code, and test the full setup before guests arrive. With Snap the Knot’s Live Image Wall, guests can scan a QR code or open a link to upload photos without downloading an app or creating an account, while new uploads can become part of the live display.
What is a live wedding photo wall?
A wedding live image wall is a shared, on-screen display of guest photos during your reception. Rather than waiting until after the wedding to look through everyone’s camera roll, you bring those candid moments into the room while the party is happening.
Guests might upload a photo of the newlyweds’ entrance, a sweet table-side reunion, a packed dance floor, or a funny moment at the bar. The value is not perfection. Your professional photographer is there for polished, intentional coverage; the photo wall is for the spontaneous, guest-level view of the celebration.
A live wall can be shown on a venue television, a projector and screen, or another display connected to a browser. It works particularly well during cocktail hour, dinner, and dancing, when people have a few natural pauses to look up, scan, and contribute.
Choose the right display location first
Your screen should be visible enough to invite participation, but not so prominent that it competes with speeches, first dances, or other planned focal points. Before deciding, walk through the reception room from a guest’s point of view.
Good places for a wedding live image wall
- Near the bar or lounge: Guests spend time here and have a moment to scan the upload sign.
- Along one side of the dance floor: A great choice for high-energy party images, provided the screen will not distract from formal dances.
- Near the entrance to dinner: Guests can notice the display as they find their tables, then upload once they settle in.
- In a cocktail-hour space: This is ideal if the reception layout changes later or if you want early guest photos to greet everyone at dinner.
Avoid putting the screen directly behind the head table, in the photographer’s main shooting line, or in a spot that requires guests to cluster in a walkway. If the room has strong daylight, test whether the display remains easy to see. A television may be more practical than a projector in a bright space.
Decide what equipment you need
You do not need an elaborate production to create a useful live wedding photo display. You need a screen, a device that can open the Live Image Wall, reliable power, and a plan for internet access. Confirm what the venue provides and who is responsible for setting it up.
| Item | Why it matters | Question to ask |
|---|---|---|
| TV or projector | Shows the live photo wall to guests. | Is the screen large and bright enough for this room? |
| Laptop, tablet, or venue device | Opens the live wall in a web browser. | Who will connect the device and keep it powered? |
| Internet connection | Helps guest uploads reach the shared gallery and wall. | Is venue Wi-Fi available and reliable in the reception space? |
| Power and cables | Keeps the display running throughout the event. | Are outlets, adapters, and extension cords available where needed? |
| Upload sign | Tells guests exactly how to participate. | Can guests scan it from where they are standing? |
Ask your venue or DJ whether they can connect a laptop to their display system. If you are renting equipment, make the screen and connection test part of the delivery plan—not a last-minute task on the wedding day.
Make uploading feel effortless for guests
The best live wall setup is clear in one glance. A guest should see the screen, notice a nearby sign, scan the QR code, and understand what to do next. Avoid a long explanation or several competing links.
Use short, direct sign wording
See your photos on the live wall!Scan to upload your favorite moments from tonight.
You can make the language sound more like you—playful, elegant, or informal—but keep the action obvious. A QR code is useful because guests can scan it from their own phones. Snap the Knot lets guests upload through a QR code or direct link without requiring an app download or account creation. For setup guidance, visit Wedding Photo QR Code.
Place the upload sign next to the display and add smaller versions in high-traffic locations: the bar, guest book table, cocktail tables, or near the photo booth. You do not need a sign on every surface. Two to four well-placed reminders are usually easier to notice than lots of competing instructions.
Plan the timing around your reception
You can turn on the live wall as soon as cocktail hour begins, but think about when it will get the most attention. A screen full of early arrivals can help demonstrate the idea before dinner, while late-night dance photos often become the most entertaining part of the display.
- Before guests arrive: Open the Live Image Wall, confirm the screen connection, test the upload QR code, and make sure the display is visible from the intended area.
- At cocktail hour: Put the first sign out and ask one or two members of the wedding party to upload a few photos. A wall with images already on it feels more inviting.
- At dinner: Have the DJ, MC, planner, or a member of the wedding party give one short reminder. For example: “Share your photos using the QR code to see them on the screen tonight.”
- During dancing: Keep the QR sign visible. This is often when guests capture the most casual, energetic images.
- After the reception: Keep the gallery available so guests who were busy celebrating can add photos later.
One announcement is generally enough. Repeated interruptions can make a fun feature feel like a task. The screen itself should do most of the reminding.
Assign one person to own the setup
Couples should not spend their reception troubleshooting cables, asking for Wi-Fi passwords, or refreshing a browser. Choose one responsible person before the event: your planner, venue coordinator, DJ, tech-savvy friend, or a wedding party member.
Give that person a short handoff list: where the display device is, how it connects to the screen, where the QR signs go, and who has the gallery owner controls. Snap the Knot includes owner controls, so decide in advance who will manage the gallery during the event. Keep the role simple: make sure the display is running, help only if someone asks, and contact the right venue or rental person if a technical issue comes up.
Set expectations that make the wall more fun
Guests contribute more interesting photos when they have a little direction. You do not need a formal scavenger hunt; a few casual prompts can spark variety. Add one small line to your sign or table card, such as “Upload the hugs, happy tears, dinner-table selfies, and dance-floor chaos.”
It is also wise to set the right expectation with yourselves. A live wall is not meant to replace your professional photo and video team. It is an interactive reception feature and a way to preserve the little perspectives your hired team cannot be everywhere to catch. Photographers who want to offer a shared guest gallery alongside their services can explore photo sharing for wedding photographers.
Keep the memories after the screen turns off
The display is only one part of the experience. After the wedding, you will want a private place to revisit the candid photos and videos guests shared. With Snap the Knot, couples receive a private wedding gallery and can download their collected photos and videos. You can also create separate event galleries for gatherings such as the rehearsal dinner, bridal shower, bachelor party, or bachelorette party.
That means your live wall can be a reception highlight without turning the photos into a one-night-only moment. Start by testing a free gallery, then review the one-time purchase plans when you are ready to choose a setup for your celebration.
A live wedding photo wall works best when it is visible, simple, and lightly supported by your timeline. Test the screen and QR code ahead of time, ask one person to manage the setup, and let your guests fill the wall with the moments you were too busy enjoying to see.