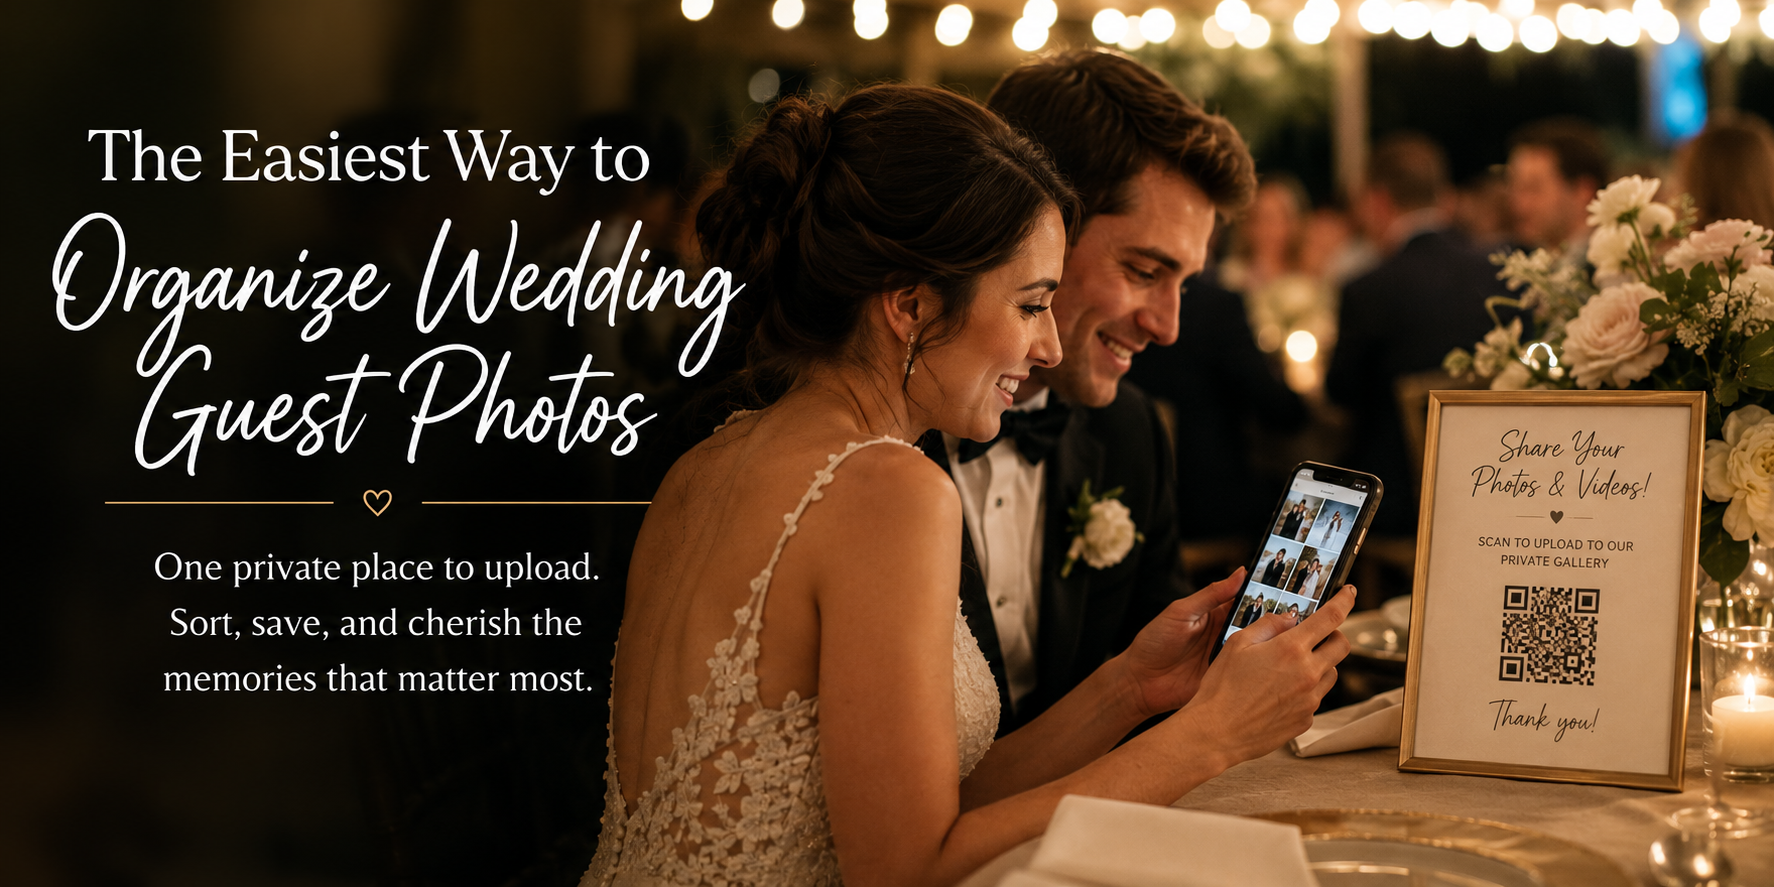
The easiest way to organize wedding guest photos is to give everyone one private place to upload, then sort and save the collection soon after the celebration.
This prevents the common post-wedding scramble: photos scattered through text threads, social media posts, email attachments, and several family members’ camera rolls.
A simple system does not require you to review every image on the morning after your wedding. It means deciding where photos should go, giving guests clear instructions, and setting aside time to download and preserve the moments you want to keep. Here is a practical plan for organizing wedding photos from guests before, during, and after the day.
Start with one collection point
The biggest obstacle is not sorting photos, it is getting them out of separate places in the first place. If guests are told to text images to you, tag you on social media, email files, or send photos to different relatives, you will spend more time tracking down images than enjoying them.
Choose one destination for guest uploads and make that the default instruction. A private wedding photo gallery gives guests a clear answer to “Where should I send these?” and gives you a single collection to review later.
With Snap the Knot, guests can scan a QR code or open a direct link to upload photos and videos. They do not need to download an app or create an account, which removes a common point of friction. You can learn more about the setup in the wedding photo QR code guide.
Keep the upload instruction short
Your sign, welcome note, or announcement should not need a paragraph of explanation. Use a friendly, direct message such as:
We would love to see the day through your eyes. Scan to add your favorite photos and videos to our private gallery.
Include the same link or QR code in places guests are likely to see it: your wedding website, welcome bag insert, reception signage, and a post-wedding thank-you message. Repeating one instruction is useful; offering several upload destinations is not.
Set up the gallery before wedding week
Create your collection early enough that you can test it from a guest’s point of view. Open the upload link on your phone, scan the QR code, select a few test photos, and confirm that you can see them in the gallery. This small step is especially worthwhile if someone else is designing or printing your signage.
For a smooth setup, decide these details in advance:
- Gallery name: Use both names and the wedding date so the collection is easy to recognize later.
- Access: Keep the gallery private and share the upload link only where you intend to invite contributions.
- Owner: Choose who will check the gallery and manage it after the wedding. This can be one partner, a planner, or a trusted family member.
- Signage: Prepare at least one reception sign, plus a small backup card or table sign if it suits your setup.
- Event boundaries: Decide whether all wedding-weekend images belong together or whether certain events deserve their own galleries.
Separate galleries can be helpful for a bridal shower, rehearsal dinner, bachelor or bachelorette party, or other gathering where a different guest list is taking photos. They make it easier to revisit each event without mixing every image into one large stream. Snap the Knot supports optional separate event galleries for this purpose.
Collect photos while the memory is fresh
Guests are most likely to upload when the request is easy and timely. A QR code at the reception makes sharing possible in the moment, but a short follow-up after the wedding helps collect the photos people took and forgot about.
Ask your planner, DJ, coordinator, or a member of the wedding party to make one brief reminder during the reception if that fits your celebration. Do not overdo it. One warm mention is usually enough to let guests know their photos are welcome.
Then send a follow-up message within a few days. Keep the tone appreciative rather than urgent:
Thank you for celebrating with us. If you took any photos or videos, we would love to add them to our gallery. Here is the link: [link]
A final reminder about one to two weeks later can be useful for close friends and family, particularly those who traveled or took group shots on their phones. After that, let the collection stand. Chasing every possible image is rarely worth the energy.
Use a simple sorting method after the wedding
Once uploads begin arriving, resist the temptation to organize every file immediately. Give guests time to contribute, then schedule one relaxed review session together. The goal is to make the gallery useful and preserve the images you care about—not to create a perfect archive on day one.
Use this three-pass method to sort wedding guest photos efficiently:
- Remove obvious duplicates and mistakes. Skip accidental floor photos, blurry pocket shots, and repeated near-identical images where you only need one.
- Save the meaningful moments first. Prioritize images of guests you love, family groupings, candid reactions, dance floor energy, decor details, and moments you did not personally see.
- Create a favorites selection. Choose the images you may want to print, share in a recap, add to an album, or revisit on anniversaries.
Do not judge guest photos by professional photography standards. Their value is often emotional and documentary: a grandparent laughing at dinner, friends getting ready together, a view from a childhood friend’s table, or a spontaneous video from the dance floor. These are often the moments that make a guest collection distinct from your professional gallery.
Sort by moment, not by person
If you download your gallery to a computer or cloud storage folder, organize broad folders around the flow of the day. This is more intuitive than trying to identify every contributor.
| Folder or album | What to include |
|---|---|
| Getting ready | Morning details, hair and makeup, gifts, and pre-ceremony candids |
| Ceremony | Guest arrivals, processional reactions, venue views, and post-ceremony hugs |
| Portraits and cocktail hour | Family snapshots, friend groups, food, drinks, and venue details |
| Reception | Entrances, toasts, dinner, dancing, and late-night moments |
| Favorites | Your most meaningful photos and videos from every part of the day |
This structure also makes it easier to combine guest images with professional photos later, if you choose. Keep the original files intact in a separate folder before making edits, renaming files, or creating smaller albums.
Protect the collection with a backup plan
Your wedding gallery should be easy to revisit, but it is wise to keep your own copy of the photos and videos you want to preserve. Download your collected files once uploads have slowed, then store them in at least two places you control.
A practical approach is:
- Keep one downloaded master folder on a personal computer or external drive.
- Keep another copy in a cloud storage account you plan to maintain.
- Give one partner or trusted family member access to the backup location.
- Save the gallery link and any login details in your shared wedding records.
Video files can be especially large, so begin with the clips that matter most if your storage is limited: speeches, first dances, ceremony reactions, and short candid messages from loved ones. You can always expand the archive later.
Decide what to share and what to keep private
Not every guest photo needs to become a public social post. A private wedding photo gallery gives you room to enjoy the full collection before deciding what to share more widely.
Consider making three groups:
- Private keepsakes: candid, personal, or imperfect images that are meaningful to you but not meant for a public audience.
- Guest-friendly favorites: group photos and joyful moments you are happy to send to family and friends.
- Social-ready images: a smaller, intentional set you would like to post or include in a wedding recap.
Before reposting a close-up of someone, especially a child or a guest who is not active online, it is considerate to ask. This is also a good reason to keep your original collection private while you choose what belongs in a public highlight.
Make the gallery part of your wedding archive
Guest images are not a replacement for your photographer’s work. They are a complementary record of the people who experienced the day with you. Your photographer captures the planned portraits and key moments with skill and consistency; guests often capture the in-between perspective you would otherwise miss.
After you receive your professional gallery, make a combined “best of” album with both sources. You might include a polished ceremony portrait beside a guest’s emotional reaction, or a reception photo from your photographer alongside a funny video from a friend at the same moment. Together, they tell a fuller story.
If you are still choosing a way to collect files, explore Snap the Knot’s photo-sharing features, including shared galleries, owner controls, QR uploads, and the Live Image Wall. You can also test a free gallery before deciding whether it fits your wedding plans.
Set up one simple place for photos now, give guests an easy invitation to contribute, and save time for a relaxed post-wedding review. The result is a wedding archive that holds not just how the day looked, but how it felt from the people who shared it with you.